Managing calendar permissions efficiently is crucial for effective collaboration and coordination within organizations using Office 365. However, manually configuring calendar permissions for multiple users can be time-consuming and prone to human error. Thankfully, PowerShell provides a powerful and automated solution for managing calendar permissions in Office 365. In this blog post, we will explore how to leverage PowerShell to assign calendar permissions effortlessly, empowering you to streamline access control, enhance productivity, and simplify the management of calendars in your Office 365 environment.
Step 1: Open Windows PowerShell console using run as administrator.
Step 2: Install the PowerShell module before we connect the admin account.
- Install-Module ExchangeOnlineManagement
- Import-Module ExchangeOnlineManagement
- Set-ExecutionPolicy -ExecutionPolicy RemoteSigned
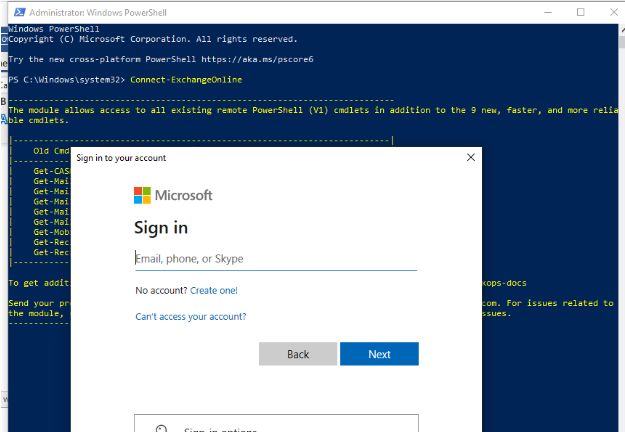
Step 3: Run the following command to connect to your Exchange Online tenant.
- Connect-ExchangeOnline
- Log in with your Global admin account

Step 4: You can view the current calendar (folder-level) permissions of the specified mailbox by using the below command.
- Get-EXOMailboxFolderPermission XYZ:calendar
- Where XYZ is the user mailbox

Step 5: In order to grant ABC permission to view and edit XYZ calendar items, run the following command:
- Add-MailboxFolderPermission -Identity XYZ:calendar -user ABC -AccessRights Editor

Step 6: To view other calendars in Outlook, you need to add that you can select a user from Adress Book.

Step 7: Now you can be able to update and make changes in the calendar as per your requirement.

Step 8: In order to remove ABC permission to view and edit XYZ calendar items, run the following command: Remove-MailboxFolderPermission -Identity XYZ:calendar -user ABC


