Email communication remains a crucial aspect of conducting business even today. However, ensuring a consistent and professional image across all email signatures within an organization can be daunting. That’s where Sig Sync comes in.
Sigsync Email Signatures for Office 365 is a Microsoft-approved highly secure cloud-based email signature management solution that lets you to centrally manage email signatures and disclaimers for all users in your Office 365 (Microsoft 365) tenant. It is a cost effective and easy to set up service that works with all email clients and mobile devices. In this blog, we will explore the features and benefits of Sig Sync, uncovering how it streamlines the process of managing email signatures, saves time, and enhances professionalism for your organization. Let’s dive in and discover the convenience and efficiency that Sig Sync brings to your email signature management.

1) Go to https://www.sigsync.com/

1.1) Click on Login and Login with your Microsoft 365 Admin Account or create a new user.

2) After sign-in, create your signature template.
2.1) Click on ‘Continue’ and authenticate your tenant using a global admin account.
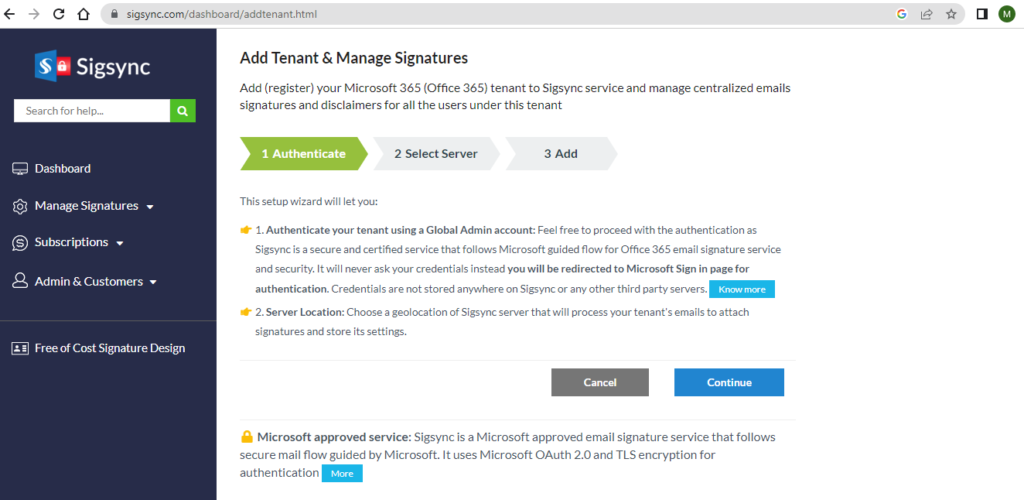
Select geolocation of Sigsync server and click on ‘Continue’.

2.2) Use Office 365 global admin account for tenant registration.

2.3) Accept the permission

3) After successful registration of office 365 tenant, create signature templates. Click on manage signature.
3.1) Click on signature gallery, choose a signature template and add details according to your requirement e.g., organization phone number, business phone, address
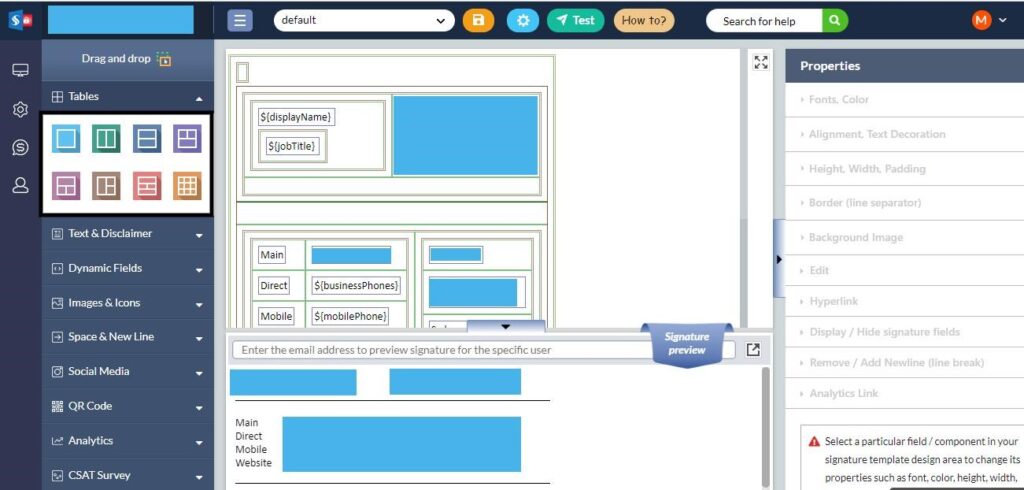
3.2) Select tables according to your need and add (select and drag) it to the signature template
Click on Images & Icons for adding images, banner, logo of your organization


4) From ‘Signature Rules’, you can assign signature template and based on senders, you can also set signatures roles.
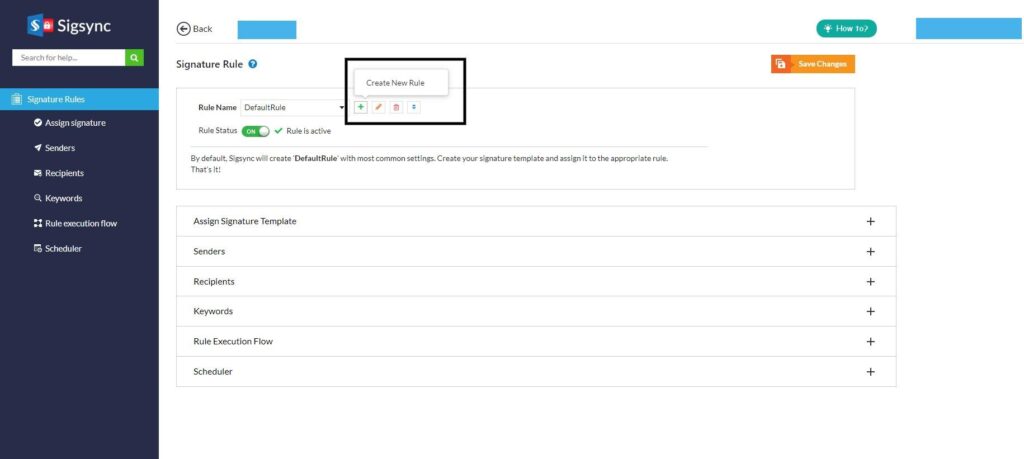
Sigsync provides options to either include or exclude signatures for an email. That’s you can select a list of senders/recipients for whom you want signatures. In addition, you can use the unique keywords in your email subject or body for a conditional signature inclusion or exclusion
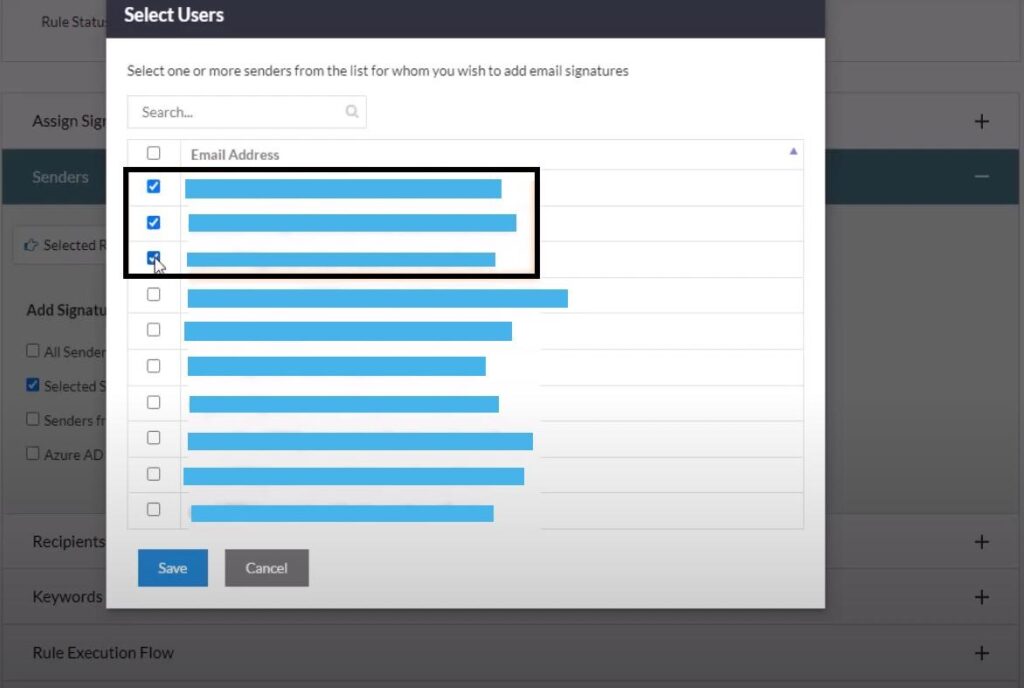
4.1) Click on ‘Senders’ and add rule based on senders.

4.2) Click on senders and select the specific user for specific rule

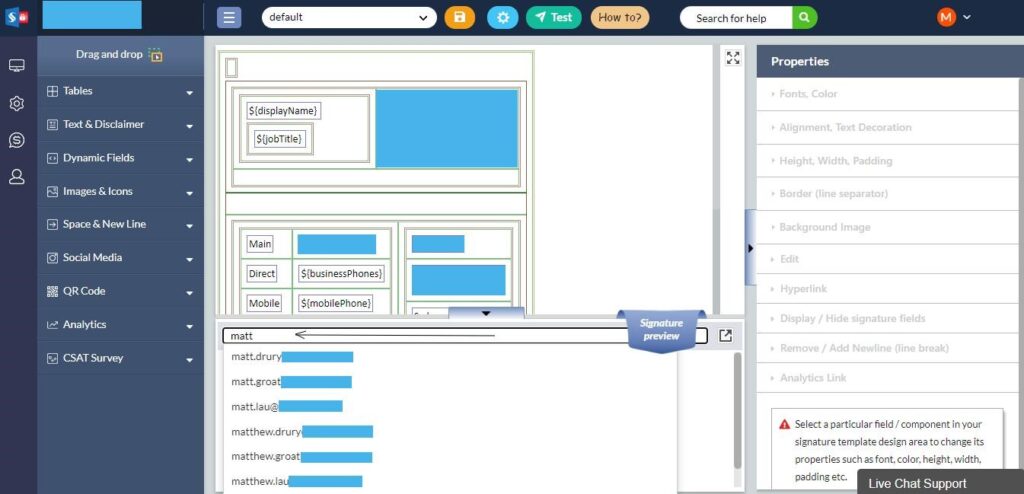
5) After successfully designing your signature, you can see signature preview
5.1) Search any user of your organization

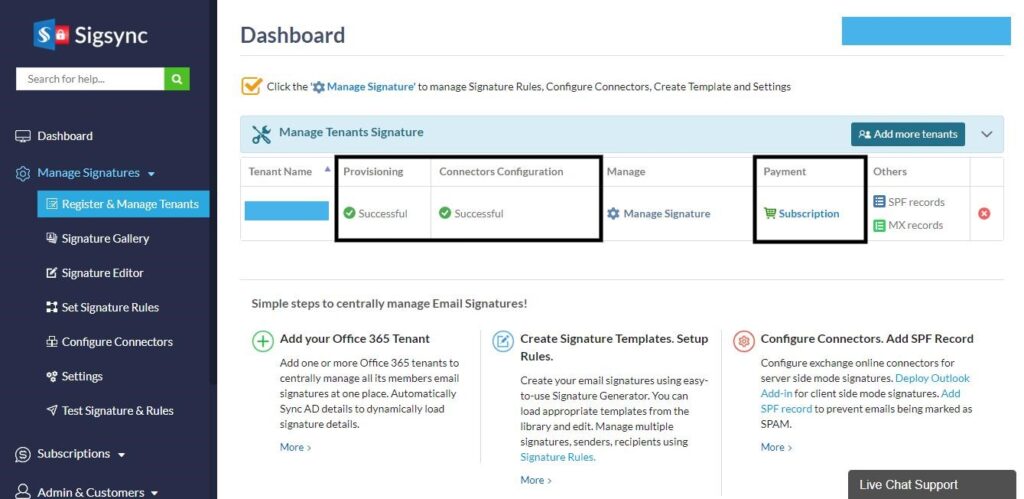
6.0) From ‘Register & Manage Tenants’, you can add more tenants and purchase annual subscription for it.
